April 1, 2024
Happy Easter – Decew Falls HIke – Niagara
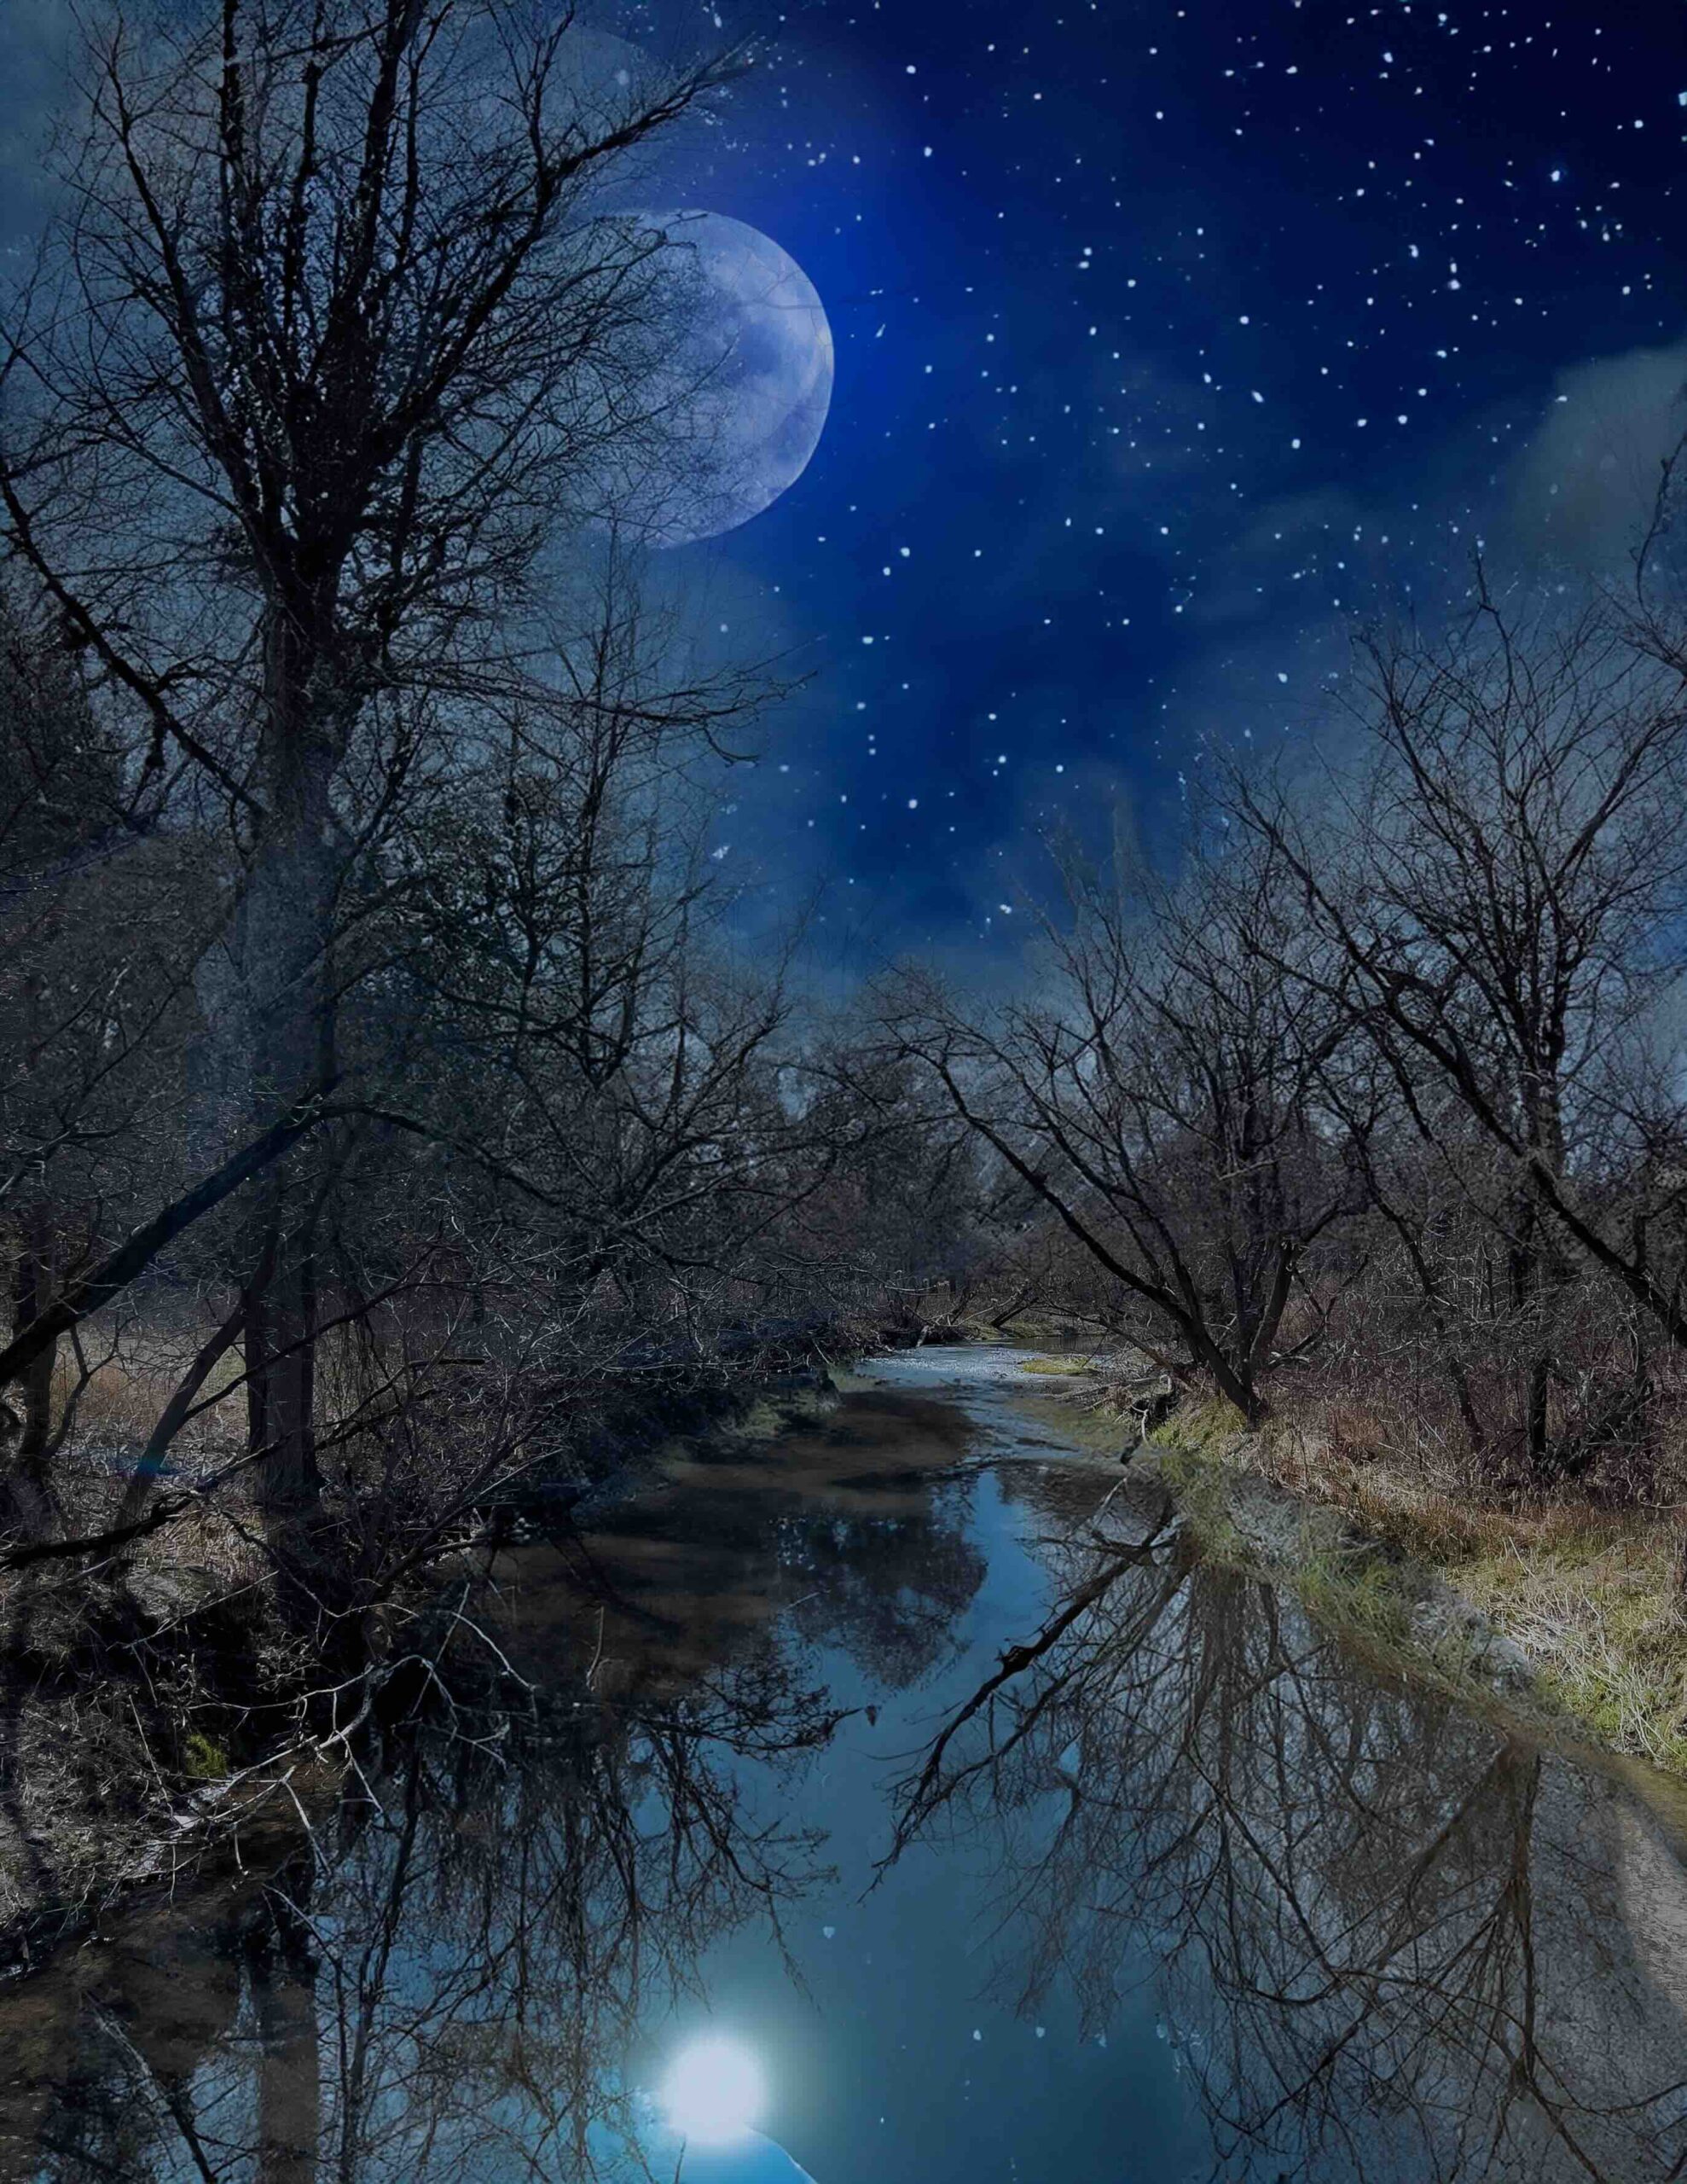
Yesterday started off pretty overcast, fairly standard Ontario Winter weather. We needed a walkabout and it wasn't freezing out so we headed out to Short Hills. Bridge was closed on the way so the detour took us to Decew Falls. Parking lot was full when we got there. I asked the guy just arrived with his family if he would move over a bit so that he wasn't taking up two parking spots. He obliged
July 24, 2023
Manitoba Horses, Horses, Horses
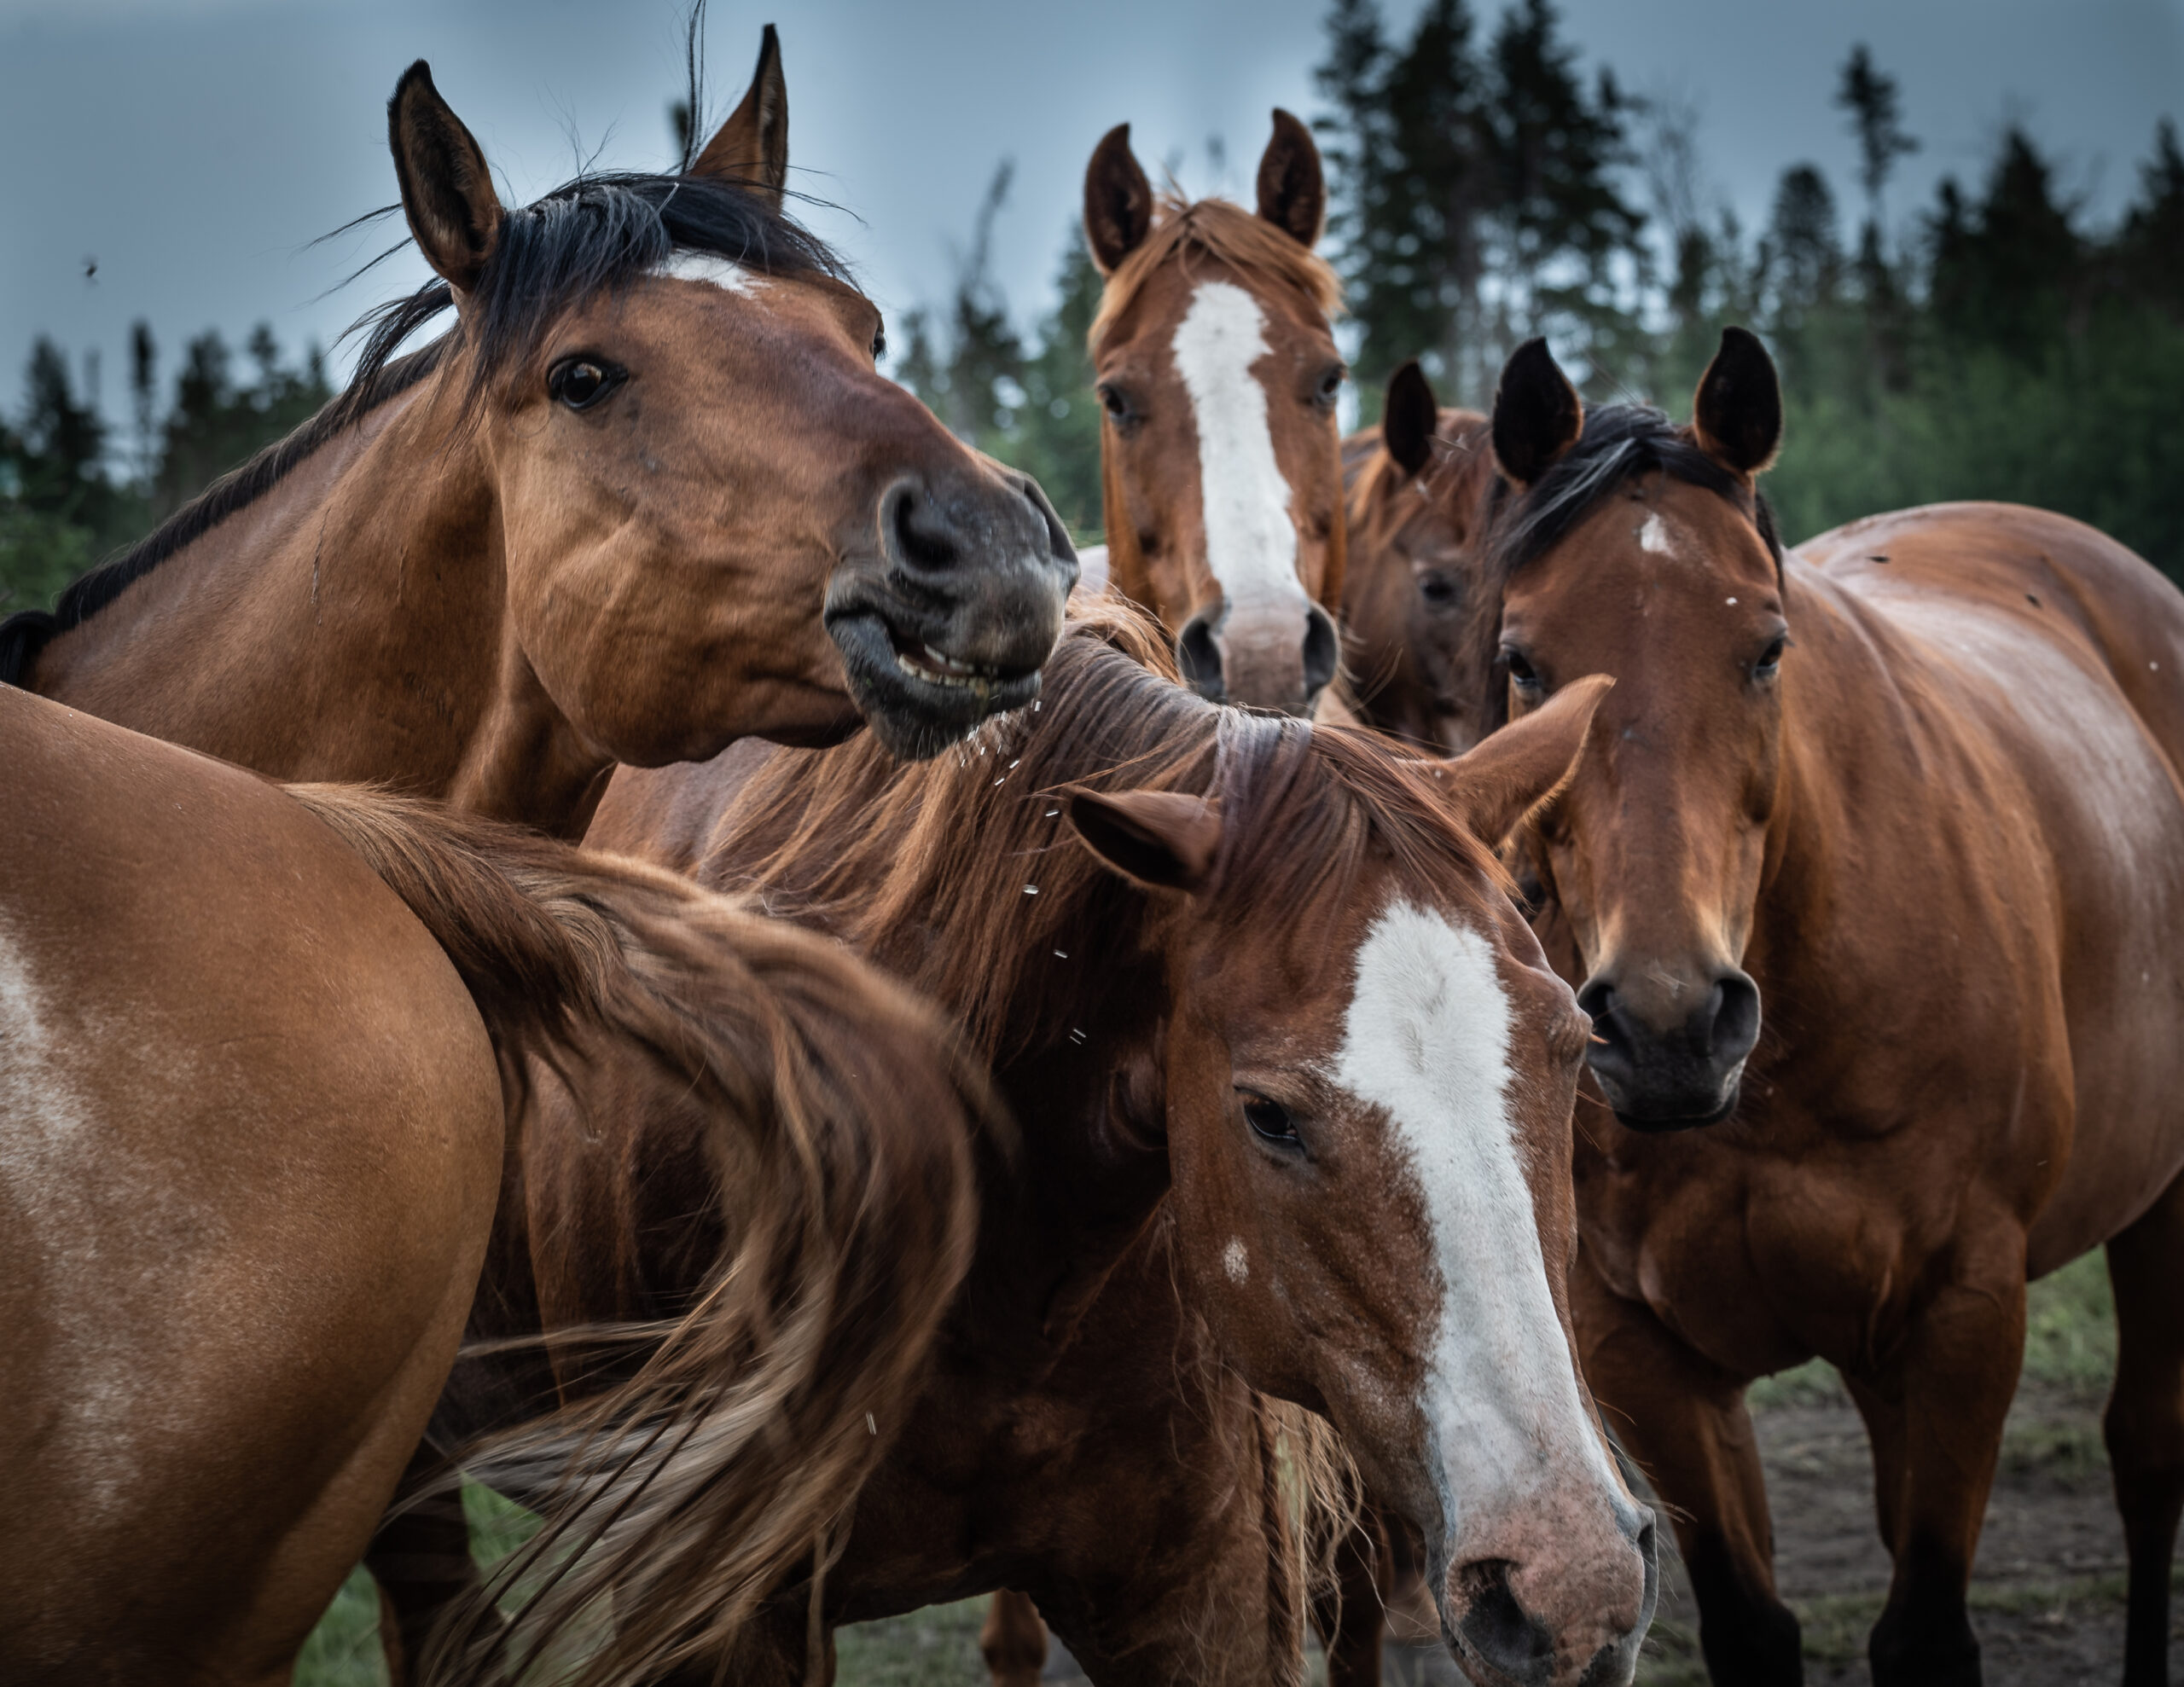
Horses, horses, horses... Visiting friends at their cabin north of Brandon, Manitoba; on the drive in we saw a heard of about 20 horses. All just just hanging out in a field by the road. That section was beaten down from their trampling so was a likely a little more bug friendly. Meaning fewer bugs bugging the beasts. A very friendly curious lot by and large. I got at least a dozen selfies with various.
June 3, 2023
Skookumchuck Narrows – Kayaking and Tides
Kayaking the Tidal Waves A few weeks ago we were in Vancouver - the wedding of a good friend. You can see a few of the photos I took from that: Vanessa and Andrew While there we took a day and went to Skookumchuck Narrows to take part and watch kayaks ride the tidal wave. Ferry ride to Sechelt. Lunch. An hour drive to Egmont and the Skookumchuck Narrows Trailhead. An hour hike in. About
https://photo-photo.net/wp-content/uploads/2023/05/8313e62172964cee9bea08a18133fc37.mp4 Marty’s Road Trip Prairies and British Columbia It has been a couple of weeks since I’ve posted anything here of our cross country road trip. We have traversed the Canadian Prairies, spent a little time in Calgary and have been sitting in the Okanagan for almost a week. I’ve tried to post a few things on Instagram. You can see some here: @martysroadtrip1 I’ve also posted a couple of photos here: @misterglue1 A couple
April 26, 2023
Along Northern Edge of Lake Superior
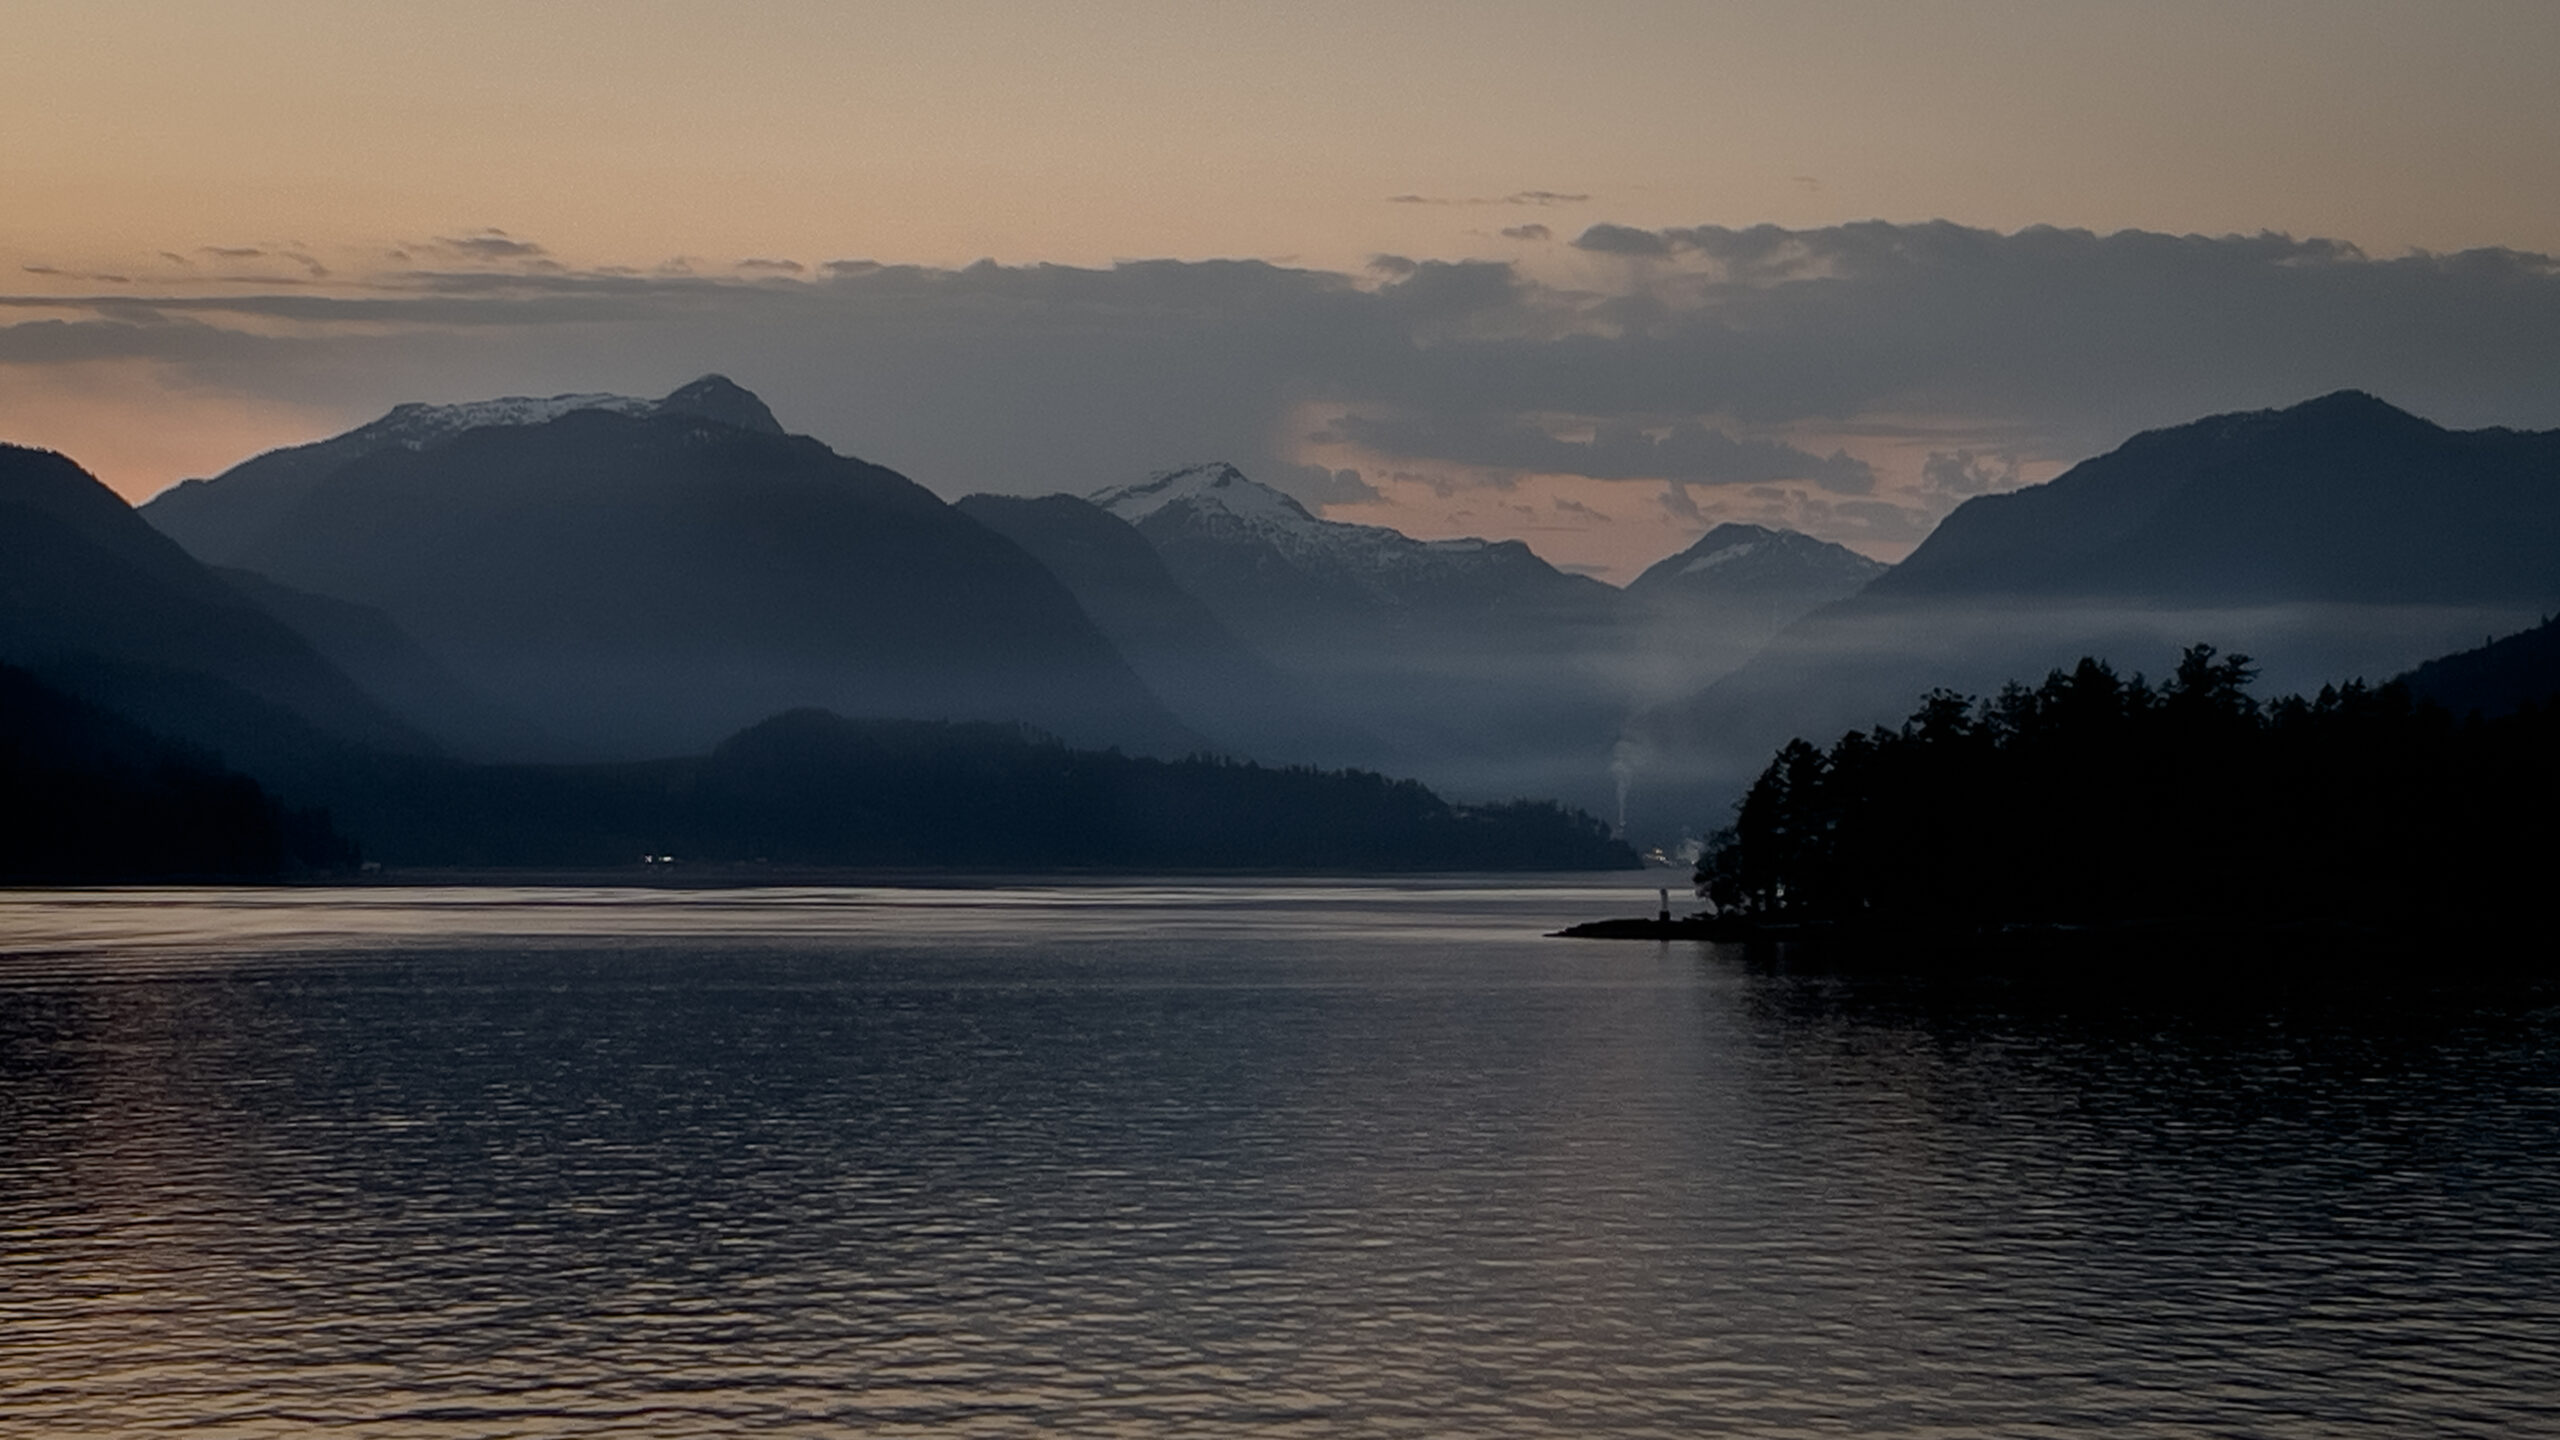
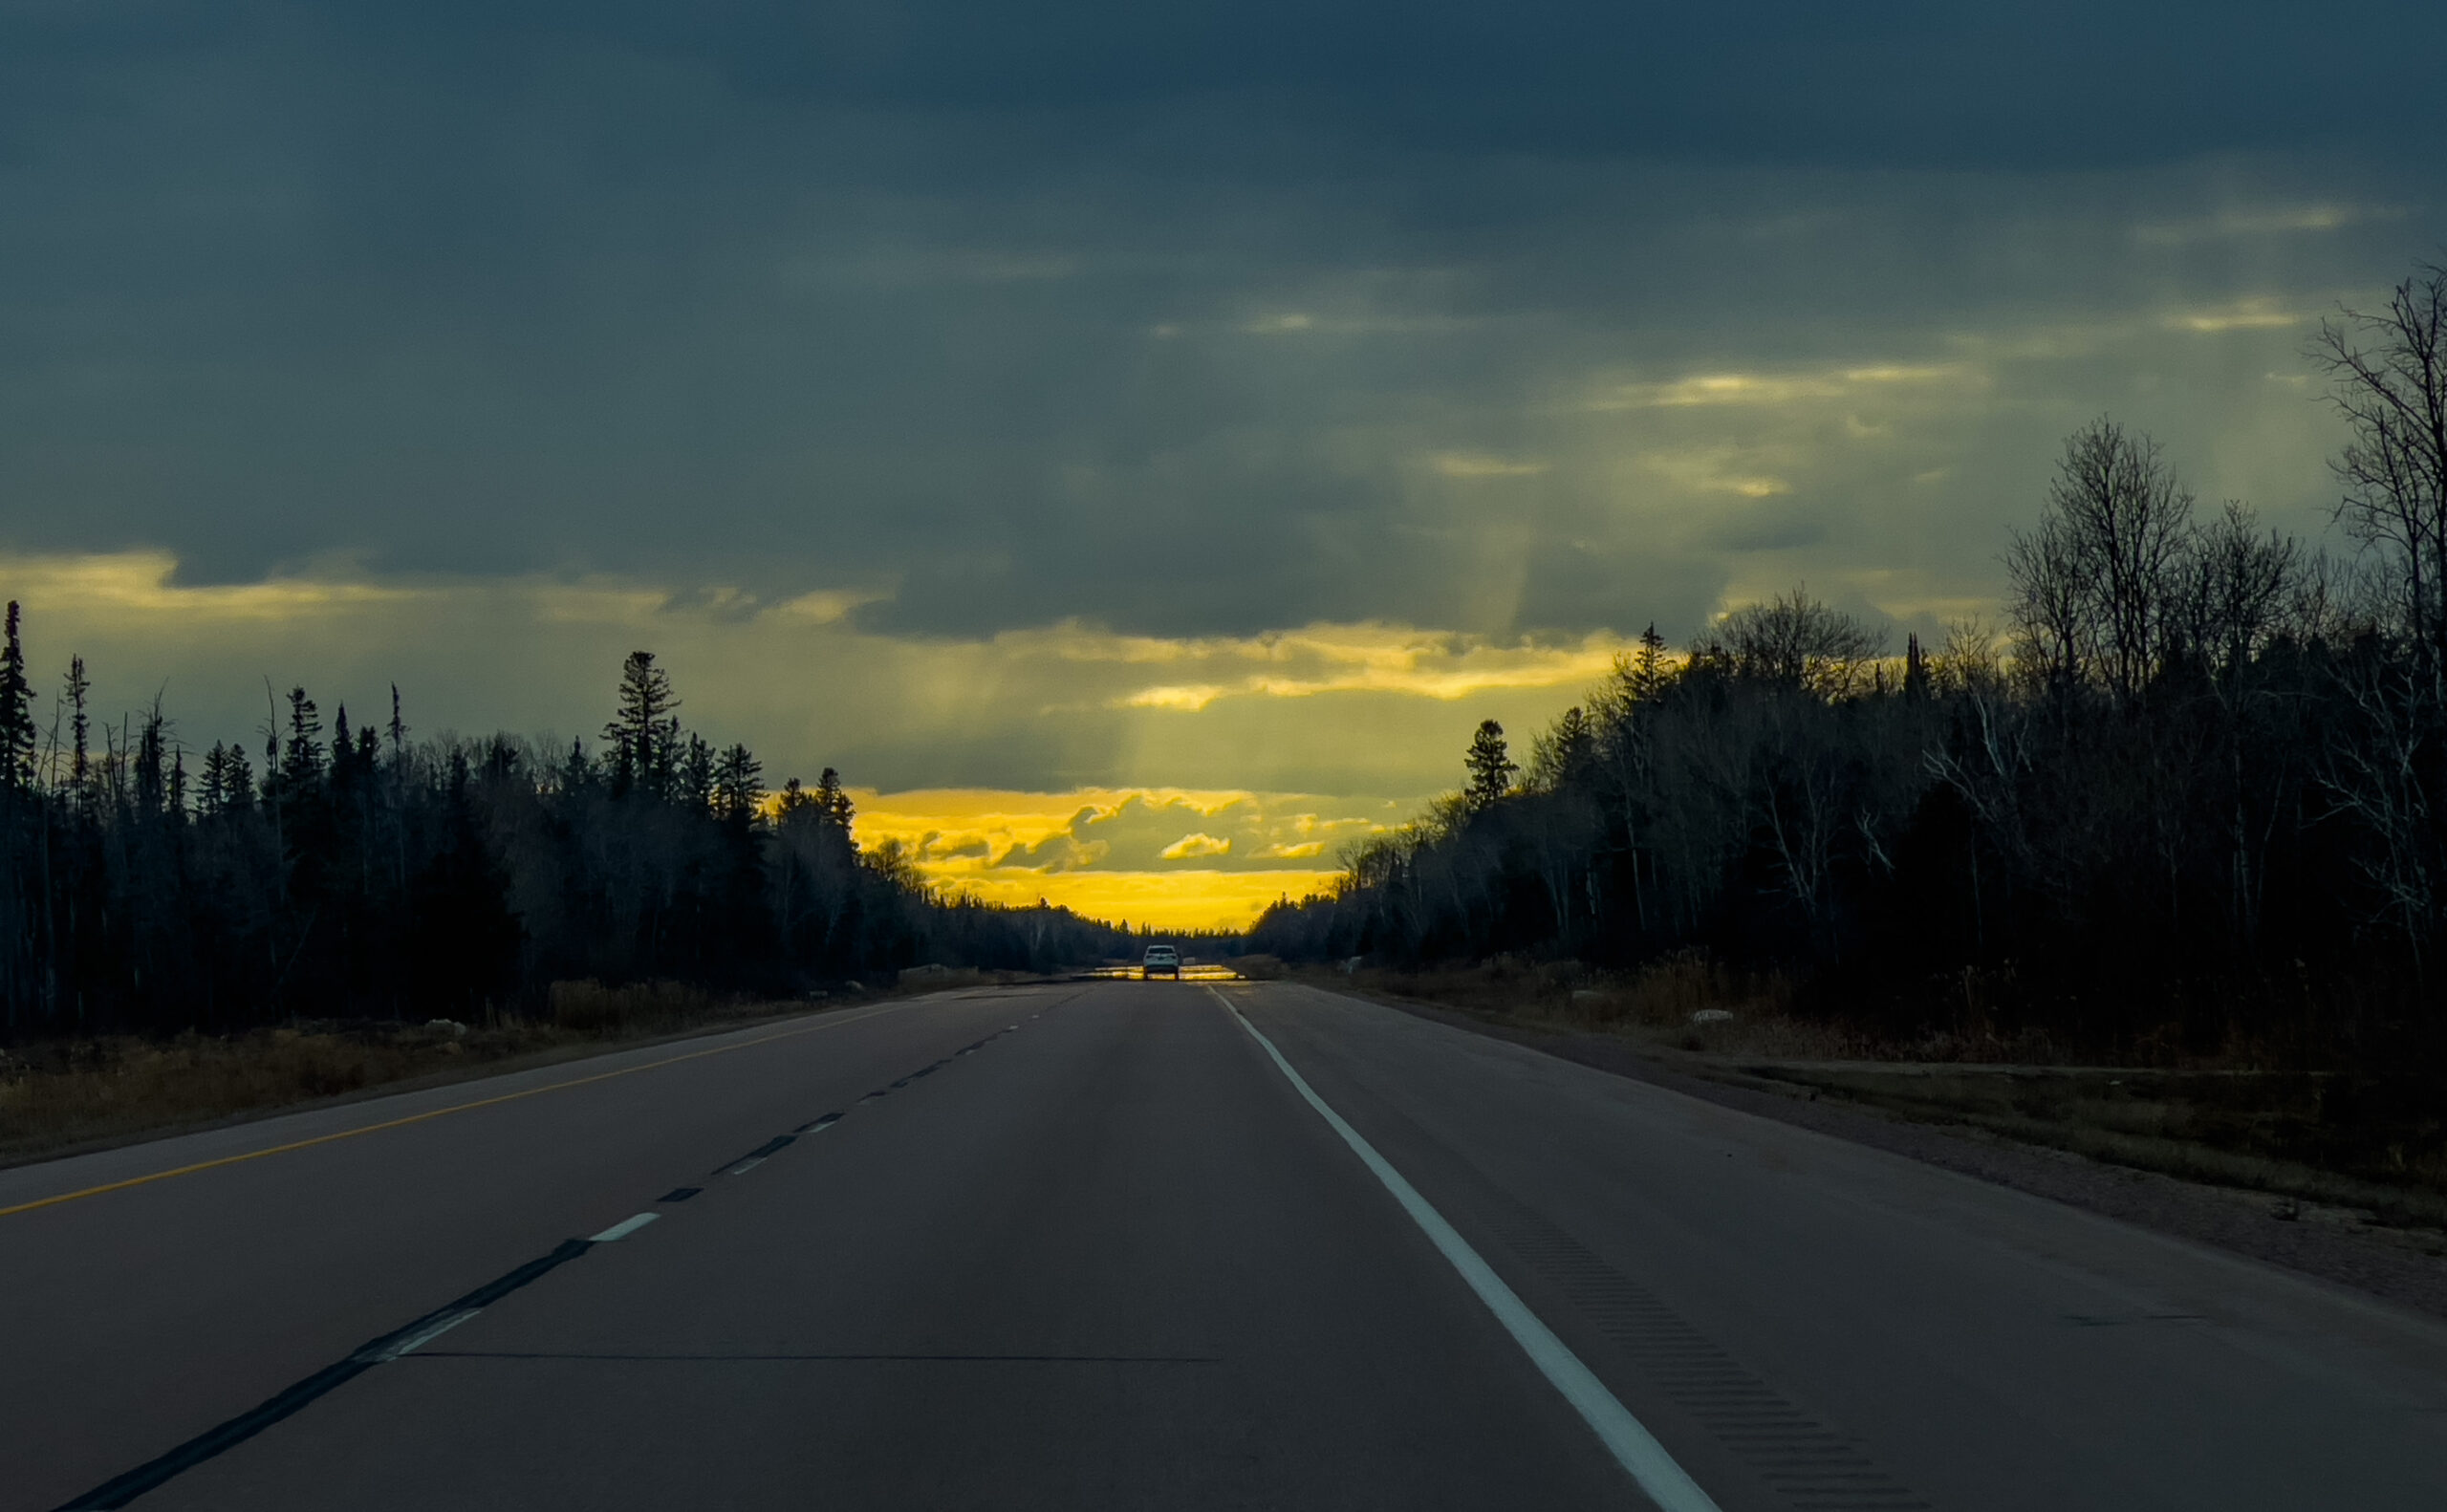
Marty's Road Trip 2023 Yvonne and I started our 2023 Road Trip a few days ago. Still quite a bit of winter along Lake Superior in Northern Ontario. Makes for a stark beauty. Yvonne pulled up Gordon Lightfoot's 'The Wreck of the Edmund Fitzgerald' on Spotify to keep us company. A haunting, eerie song. Kept us company for the very long two day drive through Ontario. Checking mileage, I found that Brandon, Manitoba is exactly